Discovering the Joys of Illustrated Garden Journaling in 6 Easy Steps
By Debra Dick
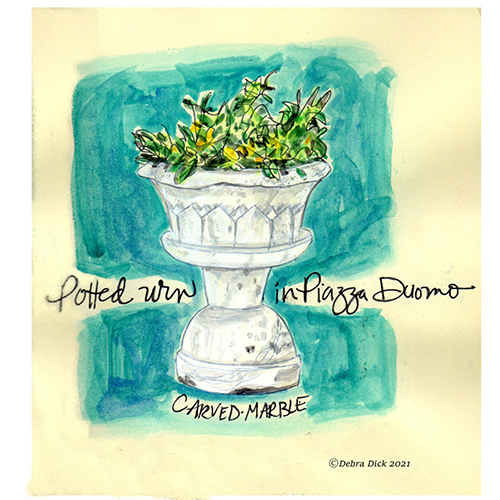
If you’re someone who enjoys the beauty of a garden setting, you may want to start an illustrated journal to record your garden visits. An illustrated journal is a blank book in which you draw and write about what you see in front of you. When it comes to gardens, your journaling subjects are typically flowers, trees, and plants, but may also include native wildlife, sculpture, fountains, and garden follies. It's typical to incorporate your hand-written thoughts and observations on the page with your visuals. Textual portions of your journal may also encompass favorite quotes and poems. Keeping an illustrated garden journal is a pleasure. It provides opportunities to slow down the pace of your life, to be in the moment, to become more centered and grounded, and to create deeper memories of your garden experiences. Through the act of illustrated journaling, you may even notice your creativity expanding with each finished page. Following are tips to help you get started on your illustrated garden journal.
Gather the Essential Tools
 - Any size blank sketch book with smooth-surfaced (hot-press) paper
- Your favorite fountain pens filled with waterproof ink for fountain pens and different sized nibs for contrast
- A small set of portable pan watercolors
- One or more watercolor brush pens (filled)
- Paper towels / soft cloth to absorb water
- iPhone to capture images you can’t paint in the moment (optional)
- Pencil (optional)
Find a Place Where Beautiful Things Grow
- Your own back yard; a nearby community or public garden; your dream garden in Italy
- Once there, choose a spot with a clear view of something that inspires you (There are many perspectives of the same site; move around to find your favorite point of view!)
- Get close-up for detailed sketches; distance yourself for scenic vistas
- Settle in and take a few deep breaths
Begin Sketching
- Decide if you want to start on a single page or create a double-page spread
- Draw in detail, quick sketches, simple outlines, or loose gestures—any way you want!
- You can start with a pencil, then outline in ink
- Or, be brave and get going using your fountain pens
- Can’t draw? No worries.
Trace the outline of a leaf, a stick, or a fallen flower head
Add Color to Your Pen Drawings
- First, let ink dry and erase any pencil marks
- Mix a little water with one of your colors
o Use the integrated palette of your pan set for mixing
- The more water you add, the lighter the color will be
- Ideally, the paint will move easily on the palette, but not drip from your brush
- Use paper towel to remove excess water from brush
- Try mixing colors together to create variations of shade, tone, and tints
- Wash the loaded paintbrush over the areas you wish to color
- Keep pan colors clean by rinsing your brush in clear water between colors
Add Handwritten Text to Your Pages
- Use print, cursive, or drawn letterforms
-
Vary direction, size, and style of writing for more visual interest
- Add color to your lettering, if desired
For maximum enjoyment: Repeat steps 1 through 5 as often as possible!


About the Author:
Debra Dick is a visual artist with a specialty in calligraphic design. She is also a teaching artist who has introduced thousands of people to the art of beautiful writing, book binding, and illustrated journaling in her classes and workshops over the past 25 years. Debra’s love for nature and gardens influences much of her work. She began illustrated journaling as a personal pursuit, but was soon invited to teach a workshop as part of a summer gardening program. Since then, Debra has developed illustrated journaling programs for the Butler Township Community Garden, the North Branch Land Trust, and The Wunderbarn. She continues to practice the art of illustrated journaling in her everyday life as a way to relax and to create indelible memories of beautiful life experiences. You can find her work via her Instagram here.

Header graphic designed by Jieyanow Atelier. You can find more of their work via their website or Instagram.
